Nothing will drive visitors to your website as effectively as good content. And if your customers are anything like the rest of the world’s population, they probably prefer visual content over text. On the whole, people are far more likely to interact with visuals instead of written information, and that’s no surprise. After all, it’s easier to scroll through images, gathering the data you need, than it is to read a lengthy blog post.
But one of the problems that inherently comes with including more pictures on your website is slower loading speeds. Images and videos take up more space than text, so it’s only logical that it will take longer for them to load (especially on a wonky internet connection).
According to Google, if your page loading time is longer than 3 seconds, visitors are 32% more likely to bounce and search for what they need elsewhere. This number increases dramatically with each added second of loading. If your website’s loading time averages at 10 seconds, this could have catastrophic results on your conversion rates.
Luckily, there are measures you can take to fix this.
Don’t just click “upload”
Let’s say you have an online shop and want to add product photos. If you hired a professional photographer, these image files might take up to a whopping 20MB per photo, so you’ll definitely need to resize first.
To find out what resolution will work for your website, check its setup. Most pages are typically around 800px wide, which can be applied to images as well. In some cases, you can even go smaller.
The easiest way to change image size is right on your computer. And you don’t need to download any fancy programs to do this. On a Mac, you can use Preview, while for Windows systems, Paint will do the trick.
Once you’ve chosen a smaller resolution, the photo will automatically take up less space, without sacrificing quality and details.
Choosing the best format
Picking a smaller resolution is already a huge step in the right direction. But there’s more you can do to drastically speed up your website.
In addition to resizing, you also need to choose the right format for your files. Not sure what we’re talking about? It’s the extension at the end of your file’s name. For images, there are three choices that you’re most likely to come across: .jpeg, .png, and .gif. Which of these will work best will depend on what you need and what you want to achieve.
- JPEG is a great choice for most users. It’s ideal for photos, has great color quality, and takes up the least space.
- PNG is for high-quality visuals or product photos on a transparent background. The size, however, will tend to be bigger.
- GIF is for animation or images without backgrounds. It is small in size, but that perk comes with a compromise in color quality.
Go the extra mile
If you only follow steps one and two, that’s already a lot you’ve done to decrease bounce rates and potentially increase conversions. But why not take things to the next level? If your website is image-heavy, or you have a LOT of pages or products, you can lessen their overall impact on your analytical statistics.
With visual content, what you can do is compress. This is something you’ll be able to do either on your computer or (if you use WordPress), directly on your dashboard. Generally, you can compress files by up to 30% and see no noticeable results. The best way to go about it, however, is to pay attention to details and make sure you don’t go overboard. This way, you’ll get the benefits, but won’t suffer the losses.
Great tools you can use for image compression include ImageOptim for Mac, ShortPixel for online use, or Smush Image Compression and Optimization, which is a WordPress plugin you can use to compress up to 50 files at once.
Think three steps ahead
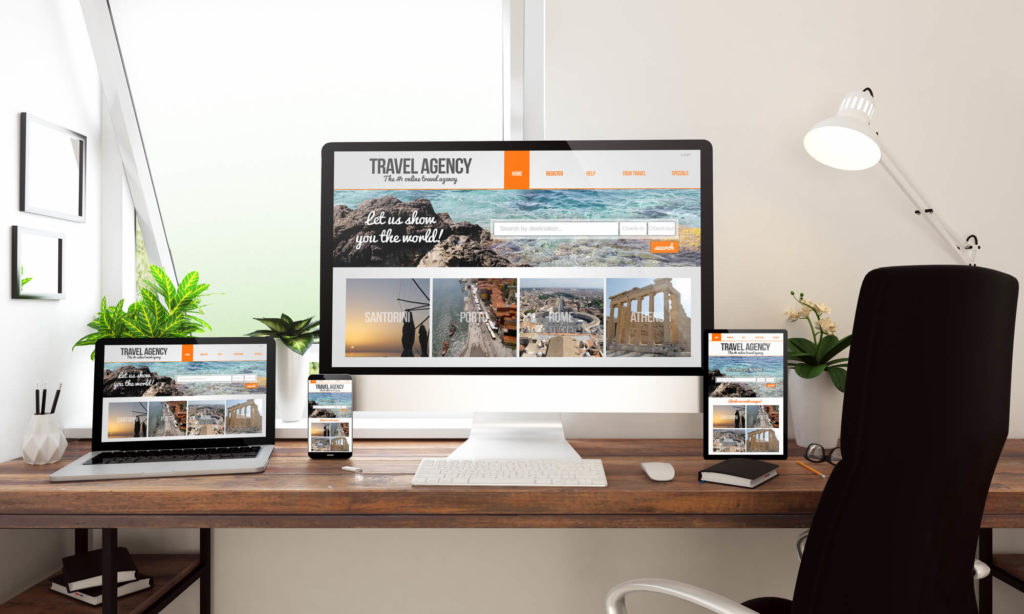
If you’re serious about getting visitors, you need to keep in mind that they will use a variety of devices to access your site. These will include desktop computers, laptops, tablets, and most often, mobile phones. (Btw, did you know that in 2016, more than 15% of people did their shopping via mobile phone?) What this means for you is that your pages will need to adapt to 32” screens and 4” ones just as efficiently.
If you use WordPress, the platform will take care of this automatically. If you use a different CMS, however, you’re either going to need to have your developer do some coding, find a plugin, or even upload files in different sizes to be shown on various parts of your website (i.e., thumbnails vs. featured images).
Crush the competition
So, you’ve followed the steps above, and now your website is loading much more quickly. Even if you only made a single second improvement, you’re on your way to increasing conversions, decreasing bounce rates, and being an all-round winner.
But, the work doesn’t stop at that.
To truly maximize your audience reach, you need to look at all the ways you can optimize visual content so that it brings in added value. This will require you to get acquainted with a few SEO techniques such as using image tags, alt tags, alt text, and captions. All of these can have a huge impact on how your pages show up in search and will be a great contributor to traffic on your website.
Another thing to keep in mind is never to keep crucial information in picture form. Your headlines and keywords need to be physically present in the text on your page. Otherwise, Google and other search engines won’t pick up on them.
Last but not least, don’t be afraid to get creative with visuals on your website.
According to current predictions, video will make up a significant majority of online content by 2022. And that’s no surprise, considering that the format is easy to consume and does a stellar job at driving traffic to your website. You can also use graphs, create memes, or even do a branded podcast. And of course, don’t forget about the good old blog.
If done right, good content (in whatever form) can make the difference between getting lost in a sea of search engine results and rising to the top. And with all your hard work, you definitely deserve to be at the top!
Follow Us